PDF to PNG: Convert Any PDF Page to an Image Free
You've got a PDF, and what you really need is a picture. Maybe it's one chart from a report for your slides, one page of a menu for a social post, or a form page you have to attach to a message that won't take PDFs. A PDF is a document, not an image, so most apps that accept pictures just turn it down. The fix is easy: turn each page you need into a PNG image. It takes about a minute in your browser, it costs nothing, and there's nothing to install.
Quick answer
To turn a PDF into PNGs free, open the PDF to JPG tool on this site, pick your PDF, and choose PNG as the image format. Select Standard, High, or Print resolution, type a page range if you only need certain pages, then click Convert. Your pages come down as a ZIP file with one PNG image per page.
What is a PNG, and why convert a PDF to one?
PNG stands for Portable Network Graphics. It's an image format that keeps every pixel exactly as drawn. That's what lossless means: nothing gets thrown away to save space. Open a PNG, save it again, and it still looks the same. That's why PNG is the first pick for anything with text, lines, flat colours, or sharp edges.
A PDF page is usually packed with exactly that kind of content. Picture a worksheet, a price list, a diagram, a form, or a report page with a chart on it. Turn one of those pages into a PNG and the letters stay crisp, the chart lines stay clean, and the flat colours stay solid. A photo format would soften those edges, and you'd spot a faint fuzz around the text when you zoom in.
PNG has one more trick no JPG can match: it can hold see-through areas. A pixel in a PNG can be fully clear, fully solid, or anything in between, which is how logos sit neatly on any background. That matters when you build graphics, but here's one honest fact to keep in mind. A normal PDF page has a white background, and converting it keeps that white background. Turning a PDF page into a PNG doesn't cut the background out for you. If you need a cut-out image, you'll still have to remove the background in an image editor after you convert.
So why convert at all, instead of grabbing a screenshot? A screenshot works for one page in a hurry, and there's nothing wrong with that. But it only captures what fits on your screen, at screen size, with your viewer chrome around it. A proper conversion renders the full page at the size you choose, with no menu bars, no scroll bars, and no half-cut lines at the bottom. If the page has to look clean in a slide deck or a post, conversion wins.
Then there's the question of where the picture will end up. Slides, chat apps, social posts, web pages, and design tools all take PNG images. Plenty of them won't take a PDF at all, or they only take it as an attachment nobody opens. A PNG drops straight into the place where people will actually see it. A teacher can put one worksheet page into class slides. A shop owner can post one page of a menu. A student can attach one page of a certificate to a form that only accepts images.
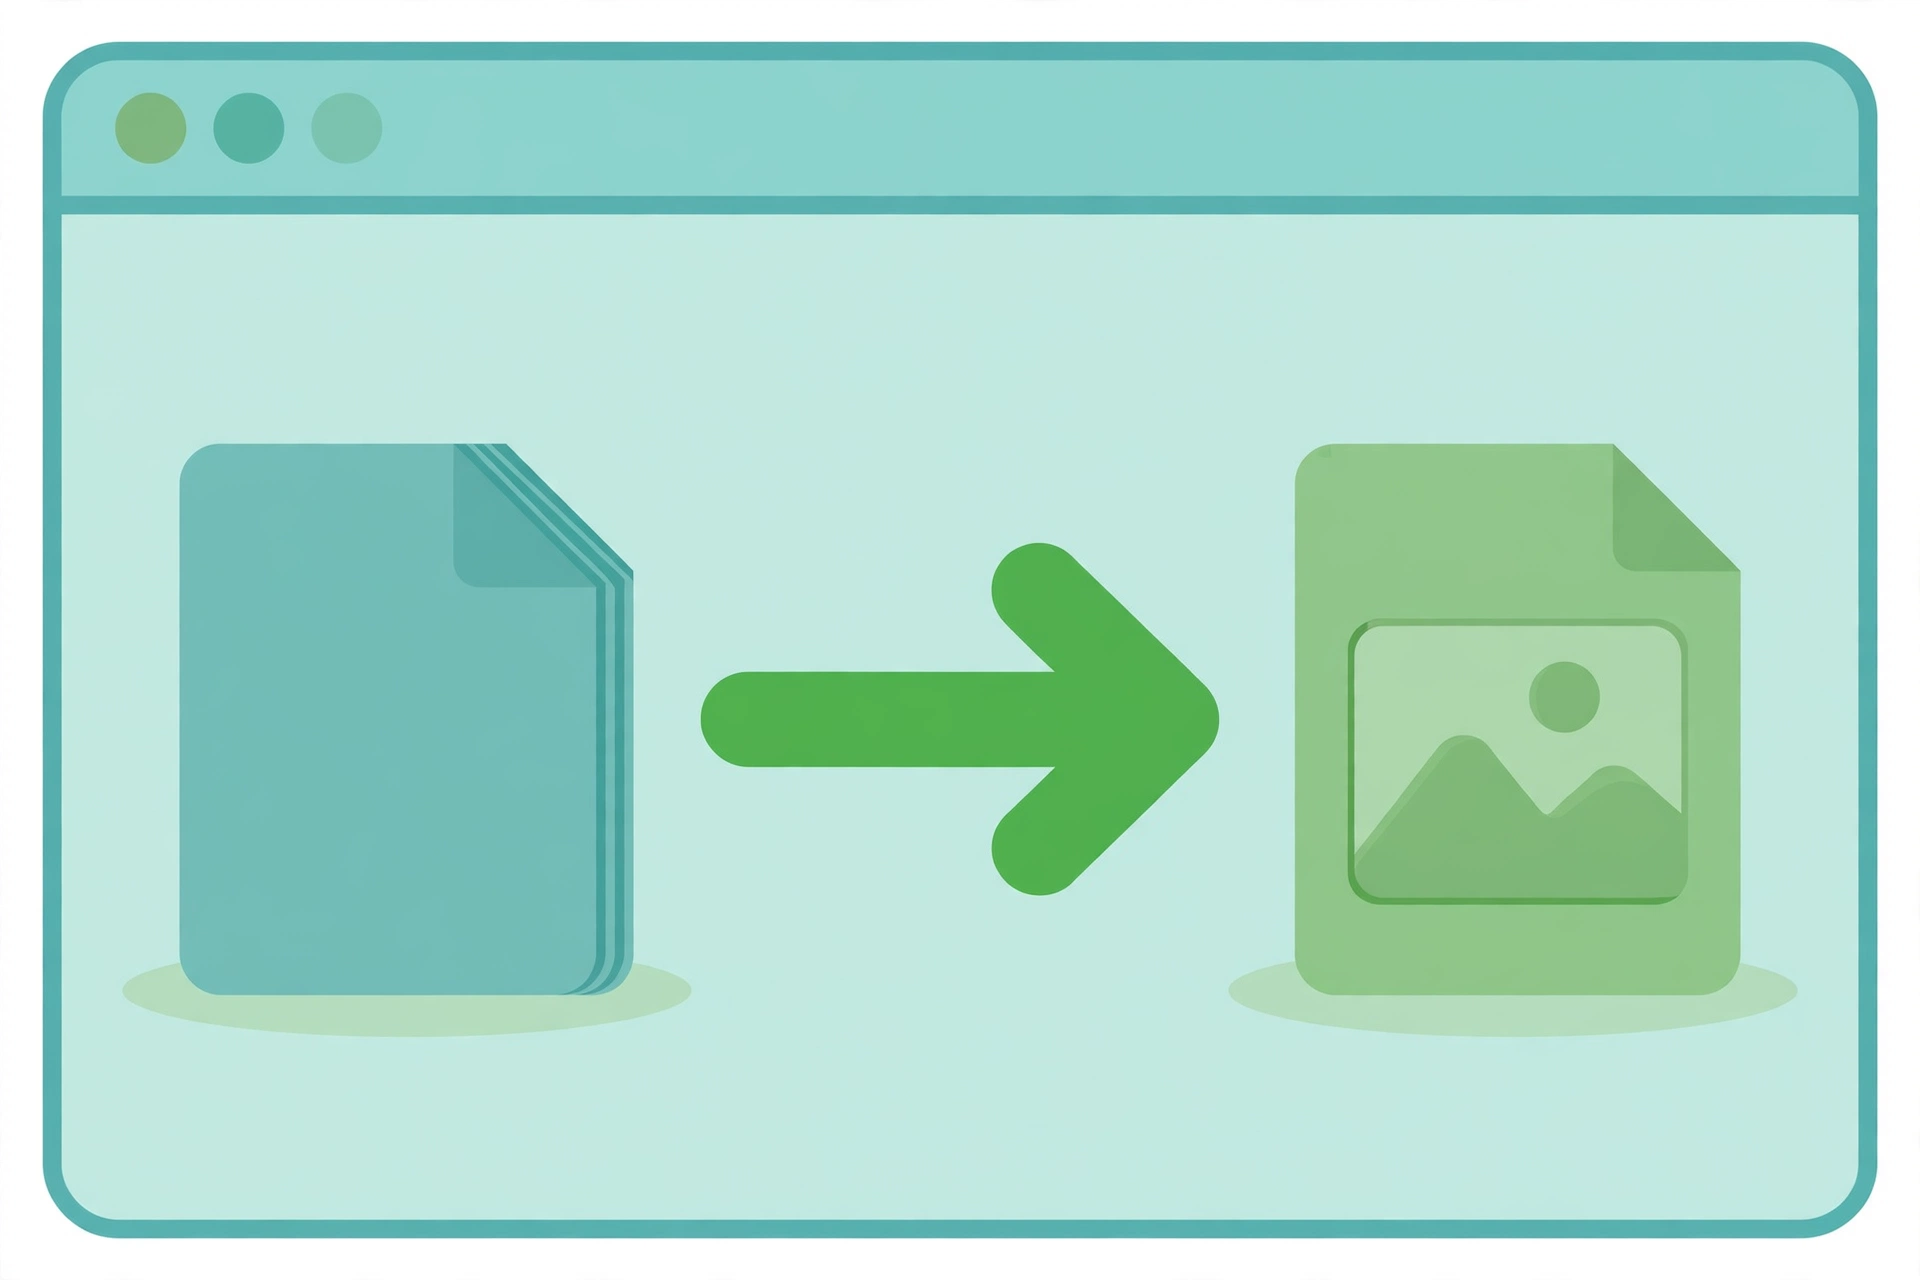
How to convert PDF to PNG online free
You can finish the whole job in your browser with the tool on this site. It's the same tool page as PDF to JPG, and it offers both formats. The steps below use that tool, and they take about a minute for a normal document.
Step 1: Open the tool. Open the free PDF to JPG tool in your browser. It works in Chrome, Edge, Firefox, and Safari, on a computer or a phone. There's no account, and no signup step.
Step 2: Choose your PDF. Click Choose file and pick the PDF from your device, or drag the file into the upload area. The file opens in your browser tab, and it's never sent to a server. Everything runs on your own device, so a private document stays private.
Step 3: Pick PNG as the format. Find the Image format menu and select PNG (lossless). JPG is the other option in the same menu, and it gives smaller files. If you're not sure which one you need, the PNG vs JPG section below will help you decide.
Step 4: Choose a resolution. Choose Standard, High, or Print. Standard fits quick sharing on screen. High gives you sharper text for slides and documents. Print is the best pick when the image will be printed or shown large. The next section walks through these choices in plain terms.
Step 5: Set a page range if you only need some pages. Leave the pages box empty to convert every page. If you only want pages 1 to 3, type 1-3. If you need page 6 and page 9, type 6, 9. Skipping pages you don't need keeps the download small and saves time.
Step 6: Convert and download. Click the Convert button. The button on the page reads Convert to JPG, but it uses the format you picked in Step 3, so it'll still give you PNG files when PNG is selected. Wait while each page is rendered, then download the ZIP file. Unzip it once, and you'll find one PNG image per page, numbered in page order.
That's it, the job's done. If you'd rather use desktop software you already have, Adobe Acrobat can do the same thing. Adobe's own help pages lay it out: choose Convert, pick Image format, then select PNG from the list, and save. Acrobat's export is a paid feature in the full Acrobat app, so the free browser route is the smarter pick for a one-off job. Adobe also notes that PNG is the right choice for transparent backgrounds, while JPG suits web-friendly images.
On a Mac, you can also open a PDF in Preview and export the current page as a PNG. That works well for one page, but it's slow if you need twenty. The browser tool is faster when the whole document has to become images. Preview works well for a single page, but exporting a twenty-page handout one page at a time is slow, so the browser tool is the faster pick for the whole document.
Choosing DPI and quality
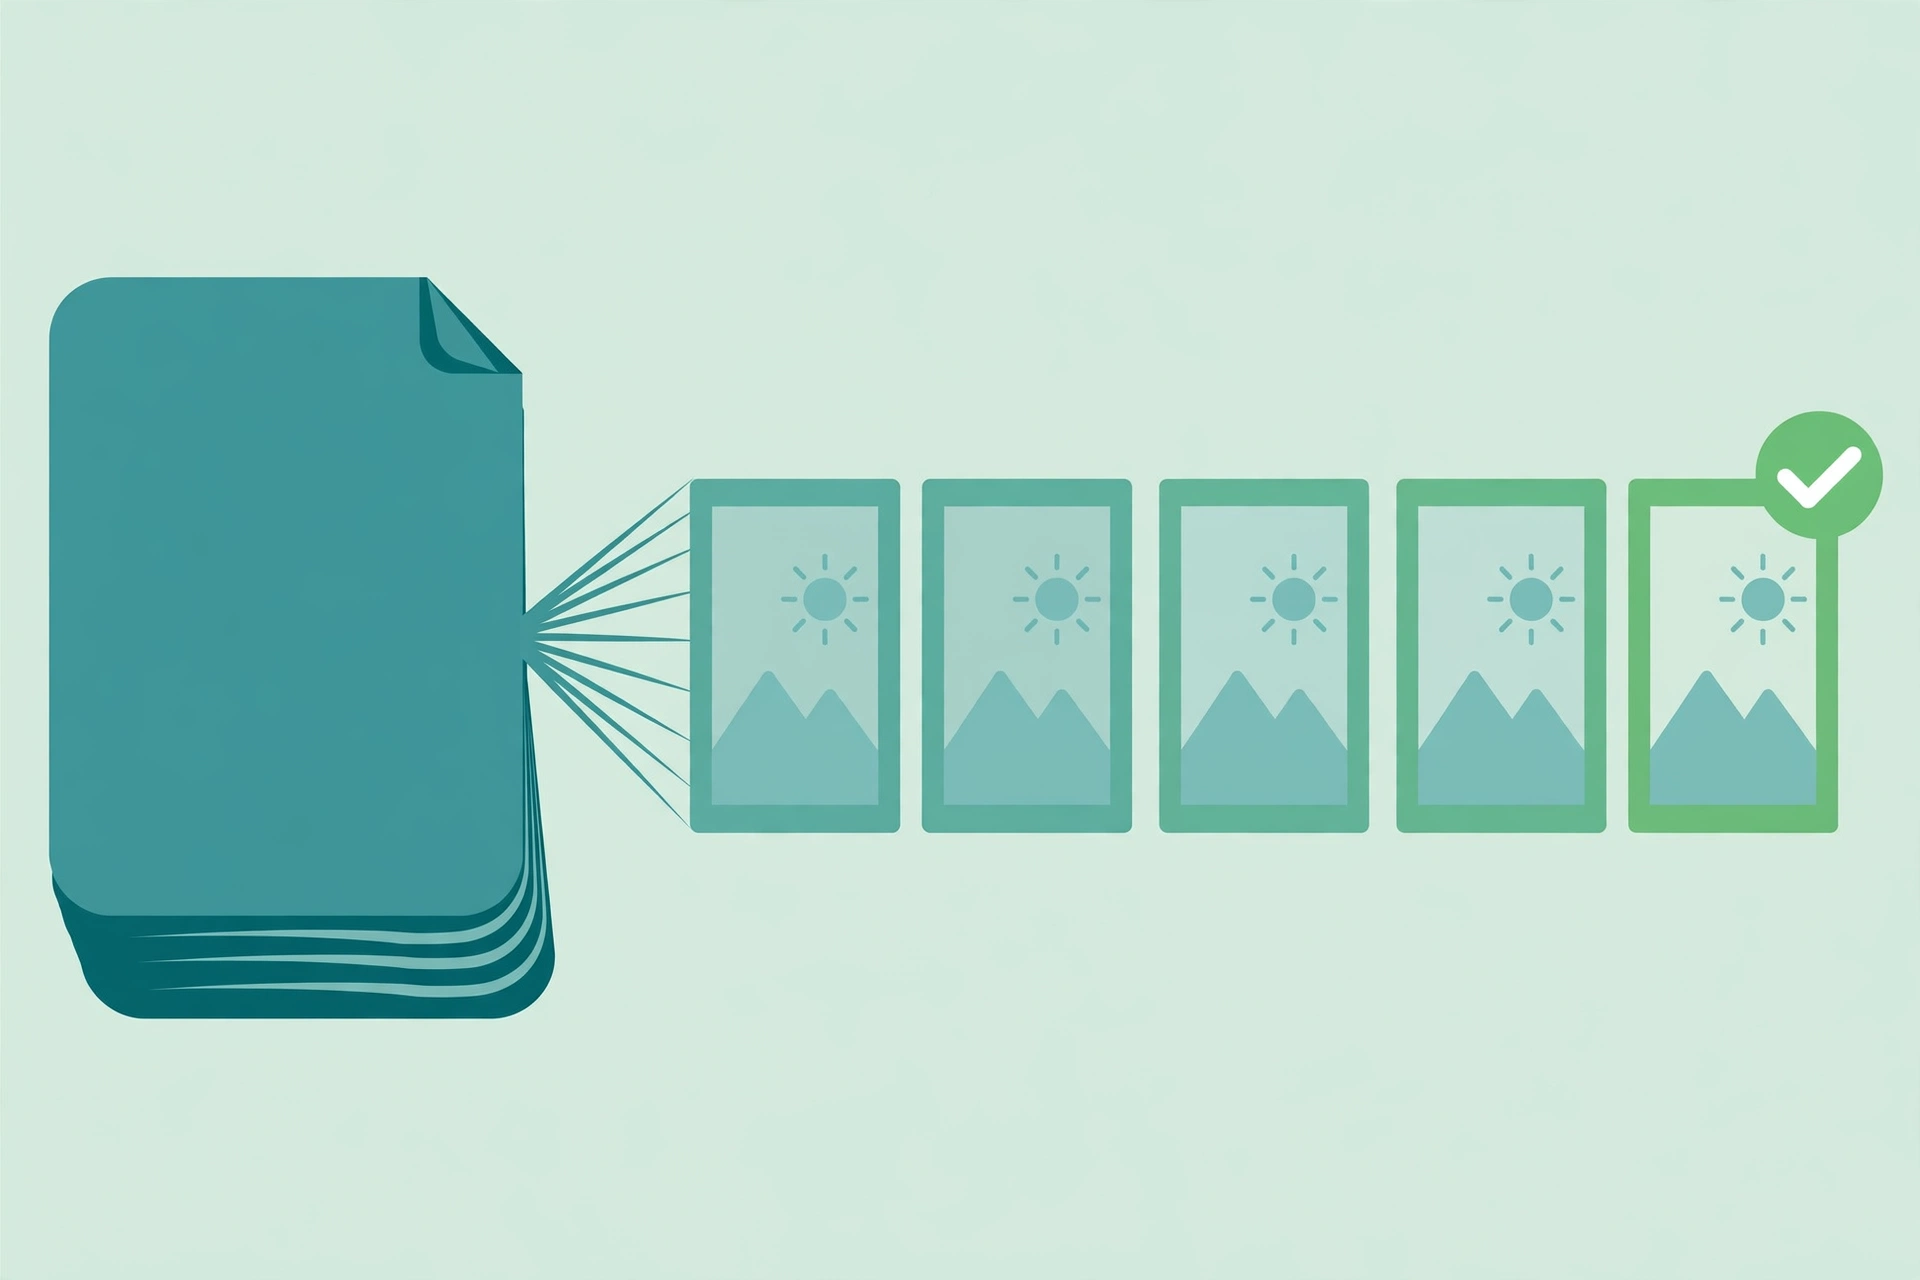
DPI stands for dots per inch. The idea is simple: pack more dots into each inch and you get more detail, plus a bigger file. When you turn a PDF into a PNG, the resolution you pick sets how many pixels each page gets, and that sets how sharp the image looks when you zoom in or print it.
This site's tool gives you three levels. Standard renders at about 90 DPI. High renders at about 130 DPI. Print renders at about 175 DPI. Those are the real settings on the tool page, so you can plan around them.
For anything that stays on a screen, Standard does the job. A chat message, a quick share, or a preview inside a document looks fine at about 90 DPI, and the files stay small. Screens care about pixel count, not the DPI label, and a page rendered at Standard is already wider than most phone screens.
Go with High when the image has to look sharp in a slide deck or a document. Text is the real test here. At about 130 DPI, small print stays readable on a projector or a big monitor. If your page is mostly text and you're showing it to a full room, High is the safer pick, and the extra file size is small.
Choose Print when the image will be printed at normal size or shown very large. At about 175 DPI, a page holds up well on paper. But be honest about the job. The usual standard for close-up professional printing is 300 DPI, and this tool tops out at about 175 DPI. That's fine for a handout, a worksheet, or a home print. If you need a sharp print for a brochure or a poster, export at a higher resolution from desktop software instead, like Adobe Acrobat, and ask the printer what resolution they want before you start.
One more thing worth knowing: bumping the resolution up afterwards doesn't add detail. If you convert at Standard and then stretch the image to twice its size, the text goes soft, because the extra pixels are guessed, not real. Pick the resolution you need before you convert. Converting again at a higher setting takes a minute, and it beats trying to rescue a soft image later.
File size follows the same pattern. A page of plain text turns into a small PNG at any setting, because flat colours pack down well. A page with a full-page photo grows fast as the resolution climbs, because every pixel of that photo is kept. If your ZIP file comes out huge, the cause is almost always a photo-heavy page, not a setting you got wrong. Drop to High or Standard for screen use, or switch that page to JPG, and the size will fall.
| Setting | About | Best for |
|---|---|---|
| Standard, about 90 DPI | Smallest files | Quick sharing on screen, chat, previews |
| High, about 130 DPI | Sharper text | Slides, documents, classroom screens |
| Print, about 175 DPI | Largest files on this tool | Printing at normal size, large displays |
Convert one page or all pages
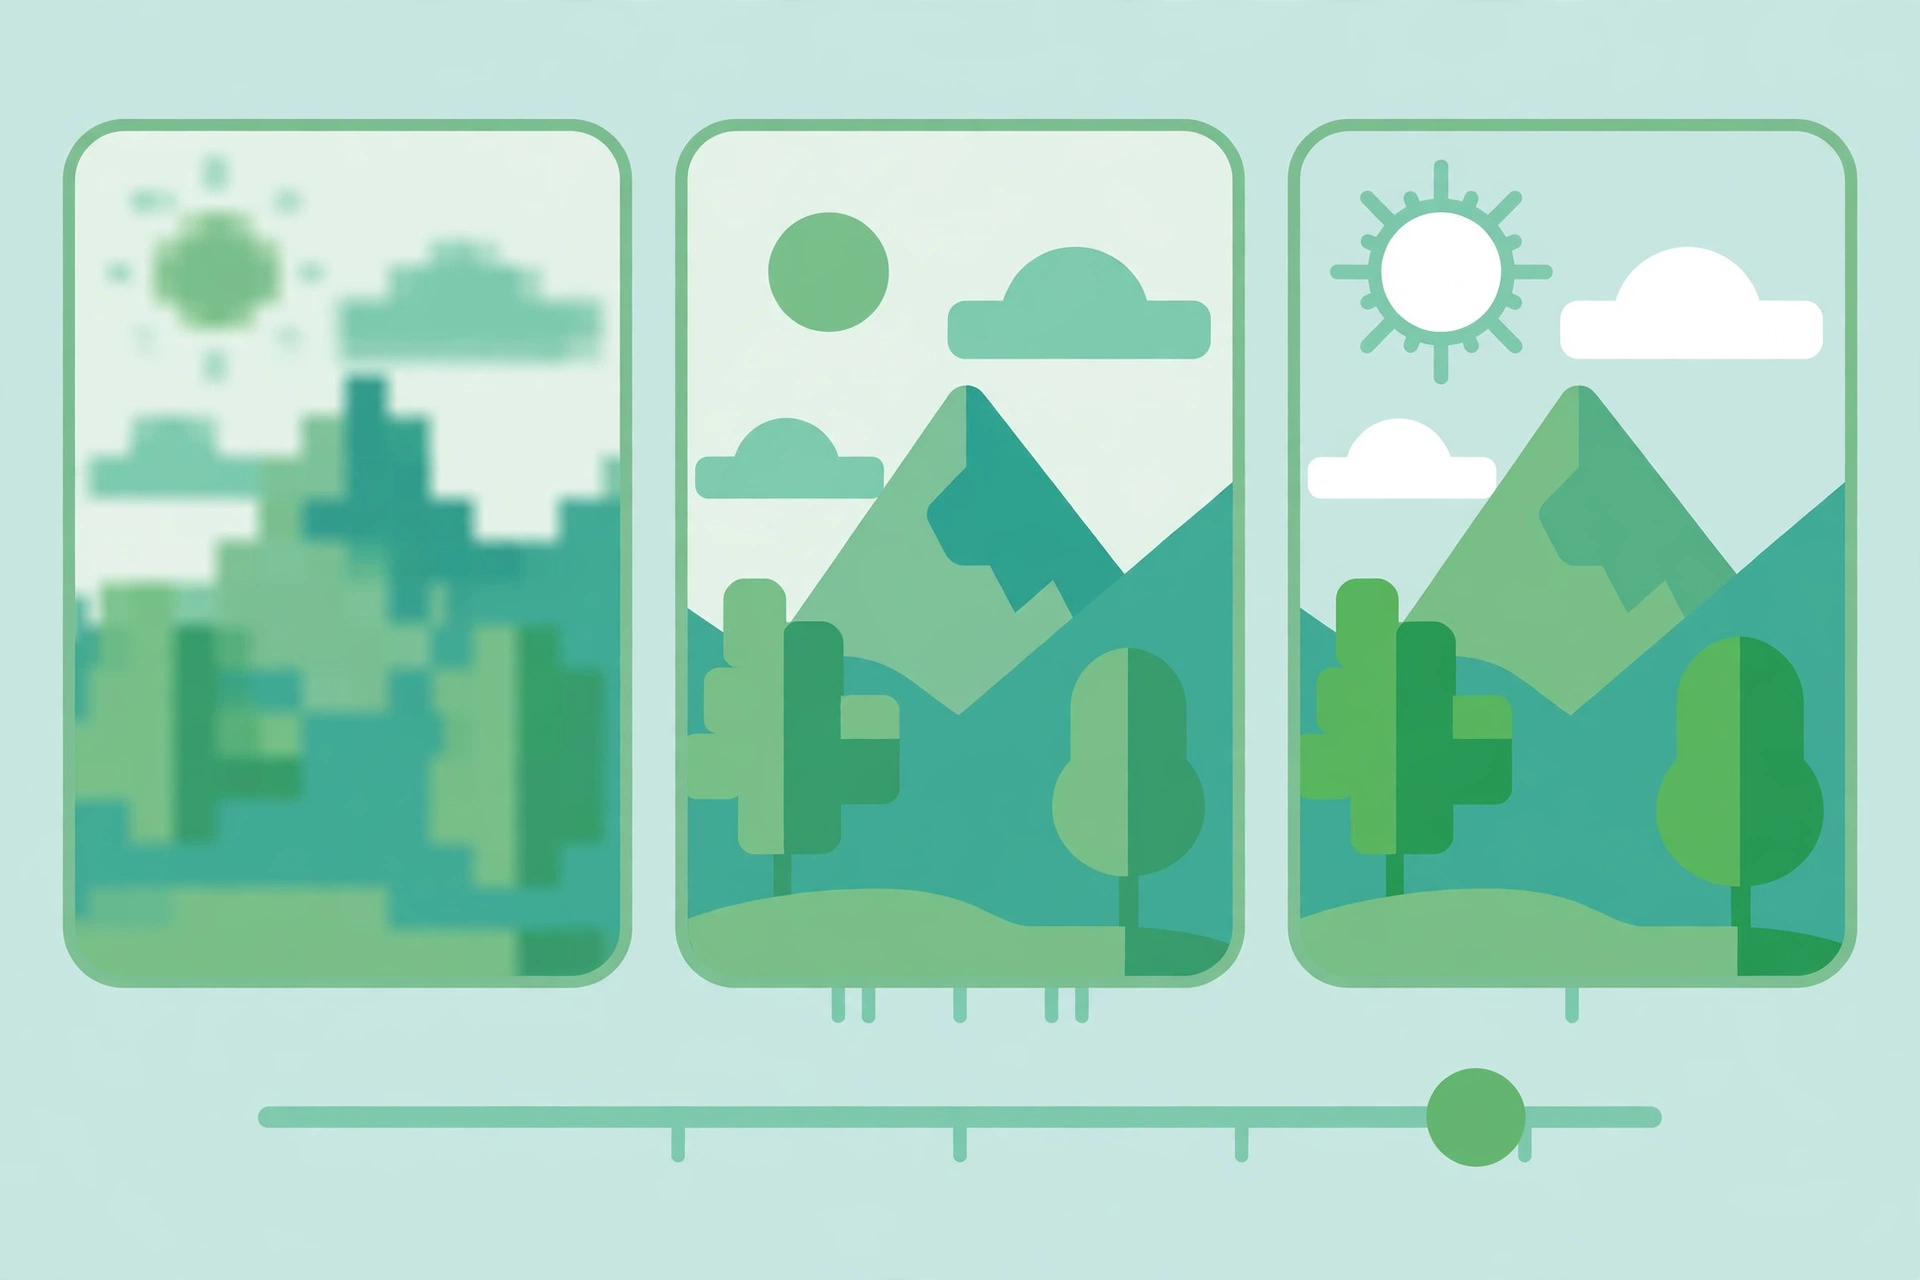
Most PDF tools convert every page by default, and this one does the same. Leave the pages box blank and you get the whole document as images, one PNG per page, inside a single ZIP file. That's the right call when you need the full document as pictures, like a scanned booklet you want to flip through as images, or a set of slides saved as a PDF that you want to post one by one.
But most of the time, you need one page, not forty. A single chart for a report. One page of a menu for a post. Page 6, the one with the signature. Converting the whole file for that is a waste. You end up with a big ZIP, you unzip forty files, and then you hunt for the one you wanted.
The faster route is the page range box. Type the pages you need before you convert. One page is just its number, like 6. A run of pages is a range, like 1-3. A mixed set uses commas, like 1-3, 6. Only those pages get rendered, so the job finishes sooner and the download stays small.
There's a second route that fits a different habit. If you want to keep the page as a PDF too, or you need to fix it first, pull it out with the free Split PDF tool and then convert that small file. Splitting first also helps when a page needs a fix before it turns into an image. If a page came out sideways, fix it with the Delete / Rotate PDF Pages tool before you convert, or read our guide to saving one page of a PDF for the full walkthrough.
When the download lands, it's a ZIP file, not a set of loose images. That surprises some people, but it's the tidy way to send lots of files in one download. Unzip it once on your computer, or open it in your phone's files app, and each PNG shows up with its page number in the file name. Keep the ZIP as a backup until you're sure the images are right, then delete the pages you don't need.
One naming tip saves real time. Rename the image the moment you unzip it, while you still remember what it is. A file called page-6.png tells you nothing next week. A file called price-list-page-6.png tells you everything. If you convert a lot of pages, drop them in a folder named after the document and the date, so the set stays together.
PNG vs JPG: which one should you pick?
PNG and JPG fix different problems, and picking the wrong one is the most common mistake in this whole job. The rule is short: if a computer drew it, use PNG. If a camera made it, use JPG.
PNG uses lossless compression. It spots repeating patterns and packs them tighter, like a ZIP file for pixels, yet every pixel comes back exactly as it went in. That's why text, logos, icons, diagrams, line art, and screenshots of text stay crisp as PNG. JPG uses lossy compression instead. It chops the image into small blocks and throws away fine detail your eye probably won't notice. For a photo, that trade is invisible, and the file ends up far smaller. For text, the same trade leaves a faint fuzz around the letters, and flat colours can pick up blotches.
Transparency settles the argument whenever it matters. JPG has no alpha channel at all, so it can't hold a transparent pixel. A transparent area in a JPG turns into a solid colour, usually white. PNG holds full transparency, with soft edges that sit neatly on any background. If any part of your image needs to be see-through, PNG is the only one of the two that works.
File size points the other way. A photo saved as PNG can be several times bigger than the same photo as JPG, because PNG keeps every pixel of a photo that JPG would simplify. For a page that's mostly a photo, JPG is the sensible pick, and our guide to converting PDF to JPG online free covers that route. For a page of text, charts, or flat colour, PNG files stay small anyway, so the size penalty barely exists.
Here's the honest summary. Choose PNG for text pages, forms, charts, diagrams, screenshots, logos, and anything you plan to edit again, because PNG never loses quality when you save it again. Choose JPG for full-page photos, scanned prints, and pages where size matters more than pixel-perfect edges. When you're unsure, convert the page both ways and compare. The files are free, the job takes a minute, and your own eyes will settle it quicker than any rule.
| PNG | JPG | |
|---|---|---|
| Compression | Lossless, every pixel kept | Lossy, fine detail discarded |
| Transparency | Yes, full alpha channel | No |
| Best for | Text, charts, logos, screenshots | Photos and photo-heavy pages |
| File size | Larger for photos, small for text pages | Much smaller for photos |
| Re-saving | No quality loss | Loses a little each time |
If you need the reverse trip later, turning images back into a PDF, the JPG to PDF tool takes JPG or PNG images and builds one shareable PDF, and our guide to converting PNG to PDF online free walks you through it.
What to do with your PNGs after converting
Once your pages are PNG images, they slot into places a PDF never could. Slides are the most common use. Drop a chart PNG into your deck, and it stays exactly where you put it, at the size you set, with no PDF viewer popping up in front of your audience. A teacher can pull one worksheet page into class slides the same way, and a student can drop a diagram into a report instead of pasting a whole document.
Social posts are the second home for these images. A shop can post one page of a menu, a coach can post one page of a workout plan, and a designer can post one page of a portfolio. Images get seen in the feed. PDF attachments get skipped. Keep the image at the size the platform shows, and check the text is still readable at that size before you post.
Messages and forms are the third use. Some forms and chat apps take images only, and a PNG of the exact page beats a photo of your screen by miles. It's straight, it's sharp, and there's no glare. The same goes for email. One page as a PNG inside the message body gets read. A PDF attachment waits for the reader to open it, and plenty of people never do.
Design work is where PNG earns its keep. Because the format is lossless, you can crop a PNG, mark it up, or drop it into a bigger design without the edges going soft. A diagram pulled from a PDF can go into a poster, a handout, or a thumbnail. If you plan to edit, keep a copy of the original PNG untouched, and work on a copy. That way you can always go back.
One practical note on sharing: PNG files run bigger than JPG files for photo pages, so watch the size before you email a set of them. If an upload form rejects a file, convert that page to JPG instead, or drop the resolution a step. A 20-page document converted at Print quality can make a heavy ZIP, and most of that weight comes from photo pages. Convert the text pages as PNG and the photo pages as JPG, and the set stays light without losing the crisp text where it counts.
Common mistakes and fixes
Text looks blurry after converting. You picked a resolution that's too low for the job. A Standard render looks fine as a chat preview, but it softens when you stretch it across a slide or print it. A Standard render stretched across a full slide goes soft. Fix it by converting again at High or Print. Don't stretch the blurry image bigger, because that only makes the softness worse.
The PNG file is huge. The page probably holds a large photo, and PNG keeps every pixel of it. Fix it by converting that page as JPG instead, which is built for photos, or by dropping the resolution a step. If the page is text only and the file is still huge, check that you didn't convert the whole document when you only needed one page.
You got a ZIP file, not a PNG. That's how the tool delivers lots of pages in one download. Fix it by unzipping the file once, in your Downloads folder or your phone's files app. Each page shows up as its own PNG, numbered in order. If you only needed one page, set the page range before you convert next time.
The background is white, not transparent. That's normal. A PDF page usually has a white background, and the render keeps it. Conversion can't invent transparency that was never in the page. Fix it by removing the background in an image editor after converting, if you truly need a cut-out image.
The wrong pages converted. Page ranges count from the first page of the PDF, and a cover page counts as page 1. Fix it by opening the PDF first and noting the page number your reader shows, then typing that number into the range box. A range like 1-3, 6 covers pages 1, 2, 3, and 6.
The PDF won't convert at all. The file may be locked with a password, or it may be damaged. No converter can open a locked PDF while it's locked. Fix it by opening the PDF in your reader first: if the reader asks for a password, you need the password or an unlocked copy from the sender. If the file opens fine but still fails, try a fresh copy of the file, because a half-downloaded PDF often looks complete but isn't.
Text in the PNG can't be selected or copied. That's expected. A PNG is a picture of the page, not a document. The words are pixels now, not text. If you need the words themselves, pull the text out instead of converting the page. Our guide to extracting text from a PDF covers that job, and a scanned page will need OCR, which reads the words from the picture.
Colours look different from the PDF. Screens and printers show colour differently, and a render can shift a shade slightly. Fix it by opening the PNG next to the PDF and comparing them at full size. If the shift is small, it's the render, and the PNG is still fine for sharing. If a colour is badly wrong, convert again at Print quality and check the result before you use it.
Frequently asked questions
How do I convert a PDF to PNG for free?
Open the free PDF to JPG tool on this site, pick your PDF, and choose PNG as the image format. Then pick a resolution, type a page range if you only need some pages, and click Convert. Your pages download as a ZIP file. Unzip it once and you'll find one PNG image per page, numbered in page order.
Is PNG better than JPG for PDF pages?
PNG is the better pick for most PDF pages. It uses lossless compression, so text, lines, and flat colours stay crisp, and it supports transparency. JPG is better for photos, because it makes much smaller files. If your page is mostly text, charts, or diagrams, go with PNG. If it's a full-page photo, JPG will save space.
What DPI should I use when I convert a PDF to PNG?
Go with Standard at about 90 DPI for quick sharing on screen. Pick High at about 130 DPI for slides and documents where text has to stay sharp. Pick Print at about 175 DPI for printing at normal size. For large or close-up prints, 300 DPI is the usual standard, so a higher-resolution export from desktop software may suit that job better.
Can I convert just one page of a PDF to PNG?
Yes. On this site, type the page range before you convert, for example 1-3 or 6, and only those pages turn into PNG images. You can also split the page out first with the free Split PDF tool and then convert that small file. Both routes give you one image, or a small set, instead of the whole document.
Why is my PNG file so big?
PNG uses lossless compression, so it keeps every pixel. That makes files much larger than JPG, mainly for pages with photos or smooth gradients. If size is the problem, pick JPG instead, or choose a lower resolution. For pages made of text and flat colour, PNG files stay small, so a huge file usually means the page holds a photo.
Can I convert a PDF to PNG on my phone?
Yes. Open the tool in your browser, pick the PDF, choose PNG as the format, and convert. The ZIP file with your page images saves to your phone, and most phones can unzip it from the files app. The steps are the same as on a computer, so you can convert a page and share it without touching a desktop.
Does converting a PDF to PNG keep the background transparent?
No, not usually. A PDF page normally has a white background, and the render keeps it, so the PNG comes out with a white background too. PNG supports transparency, but conversion can't invent a transparent background that was never there. If you need a cut-out image, remove the background in an image editor after converting.
Try the free tool
The short version: a PDF page turns into a sharp PNG image in about a minute, free, in your browser. Pick PNG for text, charts, and diagrams, because lossless compression keeps the edges crisp. Pick JPG for photo pages, because the files stay small. Choose Standard for the screen, High for slides, and Print for paper, and convert only the pages you need so the download stays light.
When you're ready, open the free PDF to JPG tool, pick your PDF, choose PNG as the image format, and download your pages as a ZIP. If you need the same job in JPG, read how to convert PDF to JPG online free. If your file is too big to send after converting, read how to compress a PDF online free, or shrink the source first with the Compress PDF tool.
How we tested this: we checked each step against the PDF to JPG tool page on this site, including the PNG format option, the page range box, and the Standard, High, and Print resolution settings, and we checked the Adobe export steps against Adobe's own help page, linked below. Menu labels change between versions, so go by the labels on your own screen. The PNG facts in this article follow the published comparisons of PNG and JPG linked below.
Privacy note: the PDF to JPG tool on this site needs no account and no signup. Your files stay in your browser and are never uploaded, never stored, and never shared with third parties. Close the tab, and the working files disappear with the session.
Last updated: November 10, 2026
Related tools and guides
How to Convert PDF to JPG Online Free
The same job in JPG, built for photo pages and smaller files.
Read article →